概述
又菜又想玩树莓派的程序员…比如我,时不时就会忘记 root 的密码,下面是一些关于树莓派的操作记录。
烧系统
建议用 balena,方便简单,包括服务器系统的引导盘都可以用这个软件来做。
忘记root密码
很简单,你买树莓派,肯定有买 SD 卡的,过程如下。
 1
 2
 3
 4
 5
 6
 7
 8
 9
10
11
12
13
14
15
16
17
|
# 查看原来 cmdline.txt 文件的内容
cat /Volumes/boot/cmdline.txt
_otg.lpm_enable=0 console=serial0,115200 console=tty1 root=PARTUUID=6bb34015-02 rootfstype=ext4 elevator=deadline fsck.repair=yes rootwait
# 编辑 cmdline.txt 文件
vim /Volumes/boot/cmdline.txt
# 查看修改了什么内容
cat /Volumes/boot/cmdline.txt
dwc_otg.lpm_enable=0 console=serial0,115200 console=tty1 root=PARTUUID=6bb34015-02 rootfstype=ext4 elevator=deadline fsck.repair=yes rootwait init=/bin/sh
# SD 卡插入树莓派,修改密码
# 如果发现有问题,可能是mount -o remount, rw /
passwd pi
sync
exec /sbin/init
# 关闭断电
sudo halt
# 最后记得插回到电脑中删掉刚刚加的一小段
# 然后重启树莓派就好了
|
网上很多博客有教这个方法,但是都没有原因,我这里简单说一下。
树莓派连接WiFi
这个也太重要了,一般我并不喜欢直接操作树莓派,都是让他开着然后 ssh 过去的,所以至少要能联网啊。当然,树莓派本身有有线网络是一个千兆以太网的网口。
树莓派网络
有网线网口以及 WLAN 的网口。
 1
 2
 3
 4
 5
 6
 7
 8
 9
10
11
12
13
14
15
16
17
|
runzhliu@raspberrypi:~ $ ip a
1: lo: <LOOPBACK,UP,LOWER_UP> mtu 65536 qdisc noqueue state UNKNOWN group default qlen 1000
    link/loopback 00:00:00:00:00:00 brd 00:00:00:00:00:00
    inet 127.0.0.1/8 scope host lo
       valid_lft forever preferred_lft forever
    inet6 ::1/128 scope host
       valid_lft forever preferred_lft forever
2: eth0: <BROADCAST,MULTICAST,UP,LOWER_UP> mtu 1500 qdisc mq state UP group default qlen 1000
    link/ether dc:a6:32:21:ac:63 brd ff:ff:ff:ff:ff:ff
    inet 192.168.1.17/24 brd 192.168.1.255 scope global dynamic noprefixroute eth0
       valid_lft 53493sec preferred_lft 42693sec
    inet6 240e:3b6:4a0:dfb0:3f80:a25a:ef67:92aa/64 scope global dynamic mngtmpaddr noprefixroute
       valid_lft 228385sec preferred_lft 141985sec
    inet6 fe80::f6ba:c719:8a2e:441/64 scope link
       valid_lft forever preferred_lft forever
3: wlan0: <BROADCAST,MULTICAST> mtu 1500 qdisc noop state DOWN group default qlen 1000
    link/ether dc:a6:32:21:ac:66 brd ff:ff:ff:ff:ff:ff
|
ssh树莓派
树莓派默认没有开启 sshd 服务,需要手动配置一下,另外如果希望用 root 登录,还需要调整一下 sshd 的默认配置文件。
用树莓派做科学上网代理
1
2
3
4
5
6
7
8
9
|
apt-get install privoxy
vim /etc/privoxy/config
vi /etc/privoxy/config
systemctl restart privoxy
netstat -ntlp
systemctl status privoxy
journalctl -u privoxy --no-page -f
vi /etc/privoxy/config
systemctl restart privoxy
|
这是 HTTP 代理的方式,理想情况下,还是想做透明网关。
固定IP
 1
 2
 3
 4
 5
 6
 7
 8
 9
10
11
12
13
14
15
16
17
18
19
20
21
22
23
24
25
26
27
28
29
30
31
32
33
34
35
|
ca > /etc/dhcpcd.conf <<EOF
# Inform the DHCP server of our hostname for DDNS.
hostname

# Use the hardware address of the interface for the Client ID.
clientid

# Persist interface configuration when dhcpcd exits.
persistent

# Rapid commit support.
# Safe to enable by default because it requires the equivalent option set
# on the server to actually work.
option rapid_commit

# A list of options to request from the DHCP server.
option domain_name_servers, domain_name, domain_search, host_name
option classless_static_routes
# Respect the network MTU. This is applied to DHCP routes.
option interface_mtu

# A ServerID is required by RFC2131.
require dhcp_server_identifier

# Generate SLAAC address using the Hardware Address of the interface
#slaac hwaddr
# OR generate Stable Private IPv6 Addresses based from the DUID
slaac private

# Example static IP configuration:
#interface eth0
static ip_address=192.168.1.100/24
static routers=192.168.1.1
static domain_name_servers=192.168.1.99 192.168.1.1
EOF
|
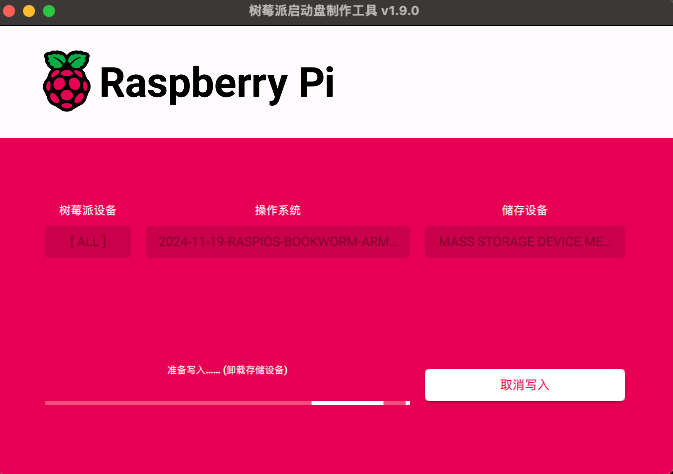
官方工具
官方已经有 Raspberry Pi Imager,可以用来烧制系统,也包括一些基础的设置,比如用户名密码,WIFI 的配置等等,都可以提前写入系统,下载的地址可以看 raspberrypi/rpi-imager。

安装Docker
 1
 2
 3
 4
 5
 6
 7
 8
 9
10
11
12
13
14
15
16
17
|
sudo apt-get update && sudo apt-get upgrade -y
sudo apt-get install -y ca-certificates curl gnupg lsb-release

sudo mkdir -m 0755 -p /etc/apt/keyrings
curl -fsSL https://download.docker.com/linux/debian/gpg | sudo gpg --dearmor -o /etc/apt/keyrings/docker.gpg

echo "deb [arch=$(dpkg --print-architecture) signed-by=/etc/apt/keyrings/docker.gpg] https://download.docker.com/linux/debian $(lsb_release -cs) stable" | sudo tee /etc/apt/sources.list.d/docker.list > /dev/null

sudo apt-get update

sudo chmod a+r /etc/apt/keyrings/docker.gpg
sudo apt-get update

sudo apt-get install -y docker-ce docker-ce-cli containerd.io docker-buildx-plugin docker-compose-plugin

sudo systemctl start docker
sudo systemctl enable docker
|
参考资料
- 树莓派如何固定IP
- 树莓派使用gost代理
- 树莓派配置ssh
- 树莓派重置密码
- 树莓派的U盘分区
- 如何用Privoxy辅助翻墙?
- 安裝Raspberry Pi OS (Debian Bullseye)
- 树莓派禁止休眠、屏幕常亮
- 树莓派官方系统下载地址
警告
本文最后更新于 2017年2月1日,文中内容可能已过时,请谨慎参考。